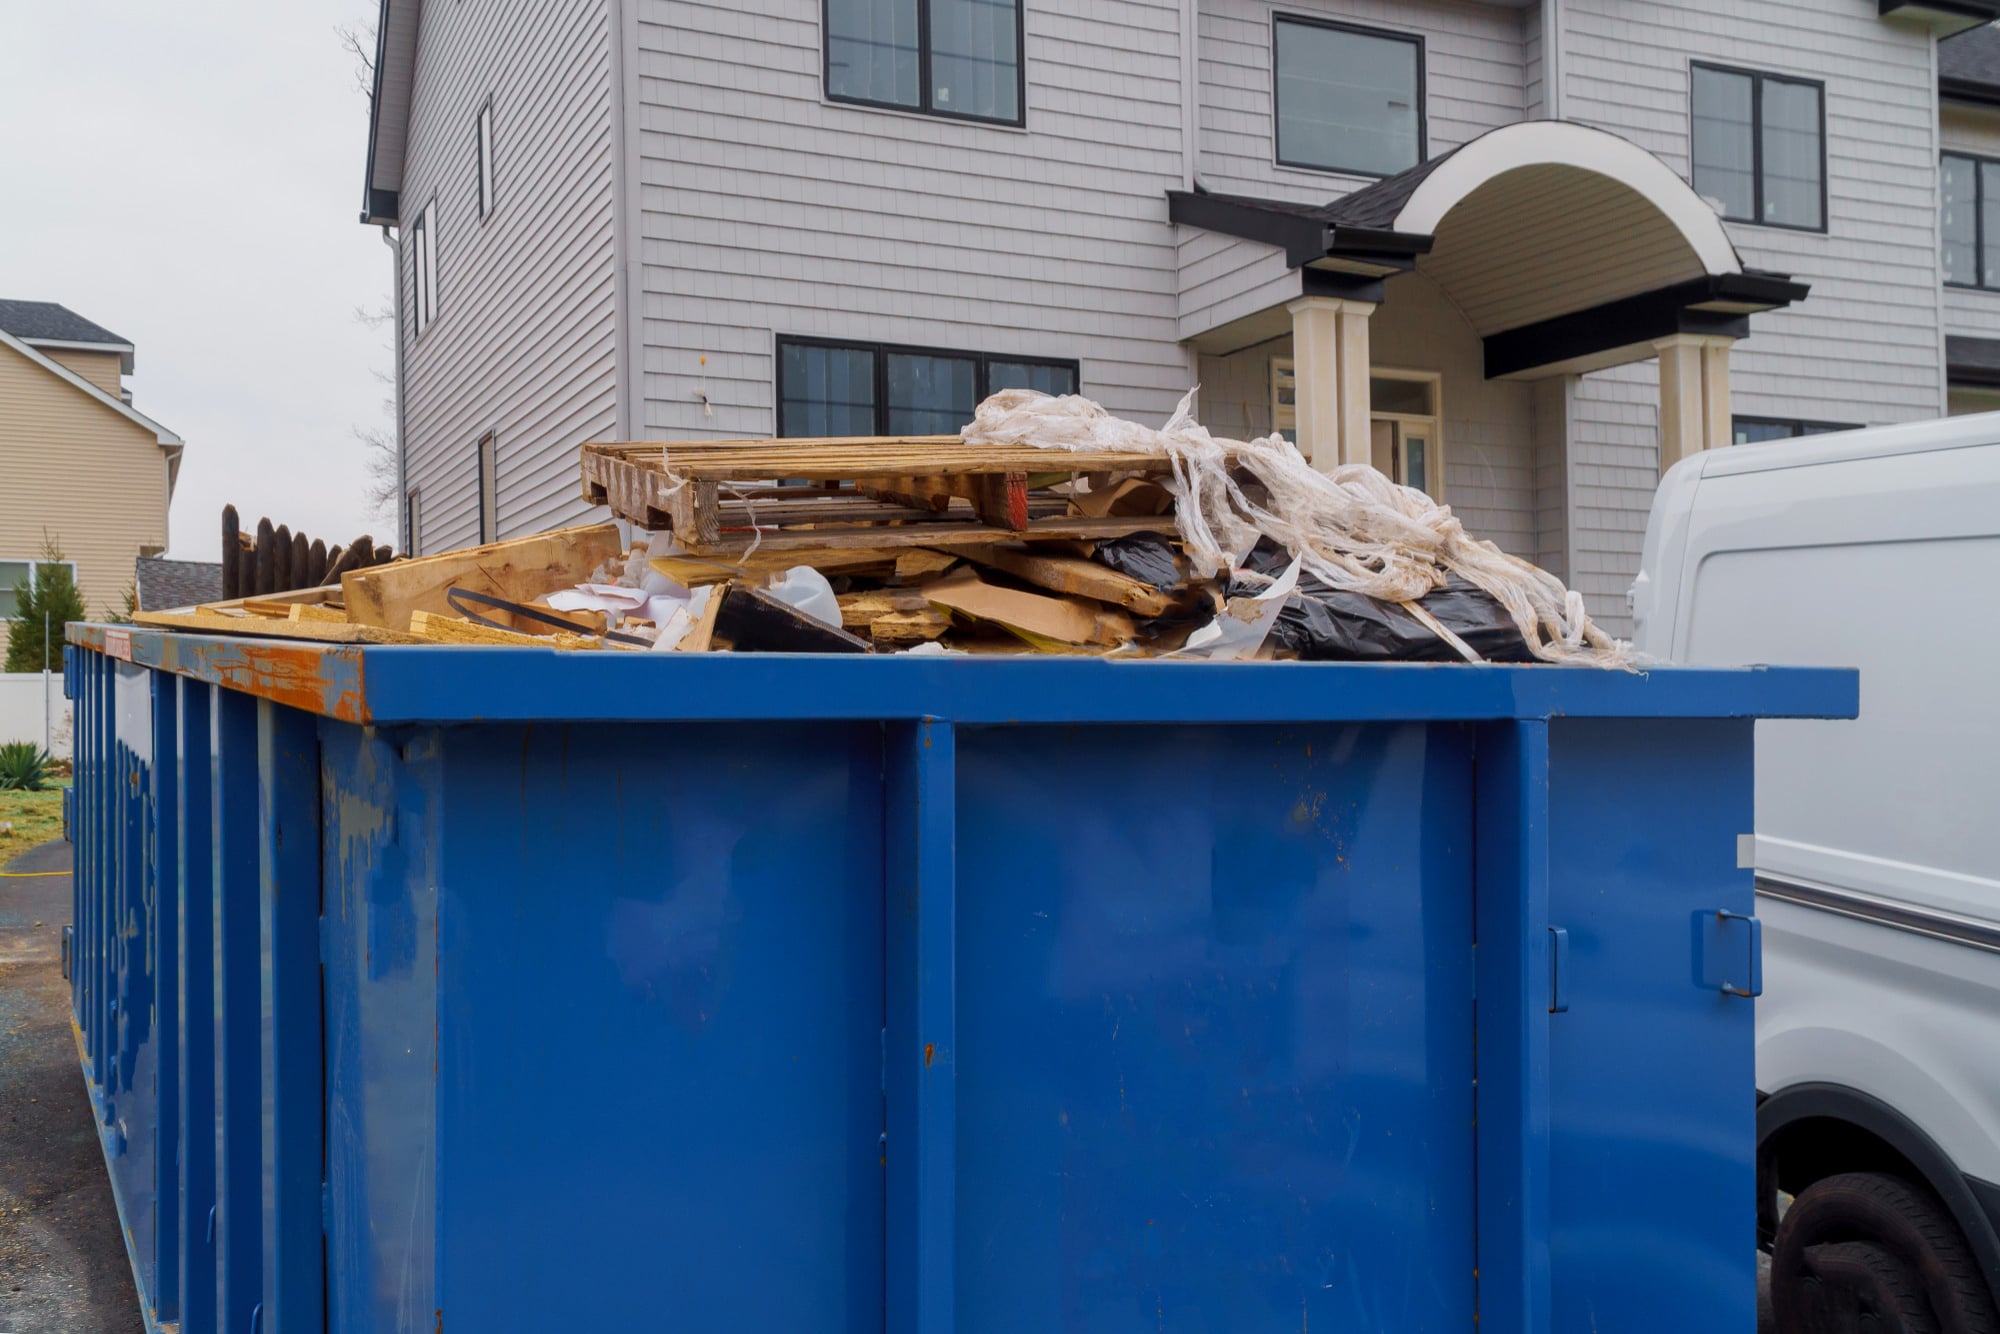
Embarking on a DIY home improvement project can be exciting, but managing the resulting waste and debris can quickly become overwhelming. That’s where renting a dumpster can make a significant difference. In this step-by-step guide, we will walk you through the process of renting a dumpster for your DIY home improvement project, ensuring a smooth and efficient waste management experience.
Assess Your Project Needs
Before renting a dumpster, it’s essential to assess your project needs. Consider the scope of your home improvement project and estimate the amount of waste and debris it will generate. This will help you determine the appropriate dumpster size and rental duration needed to accommodate your project effectively.
Research Local Dumpster Rental Companies
Next, research local dumpster rental companies to find a reliable and reputable provider. Look for companies with positive customer reviews, transparent pricing, and a wide selection of dumpster sizes. At Red Dog Dumpsters, we offer a range of dumpster sizes and have a track record of satisfied customers.
Contact the Dumpster Rental Company
Once you have identified nearbyDumpsters as your potential dumpster rental company, reach out to us to discuss your project and obtain a quote. Contact us at 615-933-3300 and provide us with details about your DIY home improvement project, including the estimated duration and the type of materials you plan to dispose of. Our knowledgeable team can assist you in selecting the right dumpster size and provide a clear understanding of the rental process.
Choose the Appropriate Dumpster Size
Selecting the right dumpster size is crucial to ensure you have enough space for all your waste and debris. At Red Dog Dumpsters, we offer various sizes, such as 10-yard and 15-yard dumpsters, to accommodate projects of different scales. Consider the volume and types of materials you will be disposing of to make an informed decision.
Schedule the Dumpster Delivery
Once you have chosen the appropriate dumpster size, schedule the delivery with us. Coordinate the delivery date and time to ensure the dumpster arrives before your project begins. At NearbyDumpsters, we prioritize customer satisfaction and offer same-day delivery for orders placed before noon, providing convenience and efficiency for your DIY home improvement project.
Prepare the Delivery Area
Before the dumpster arrives, prepare the delivery area to ensure a smooth drop-off process. Clear any obstacles, such as vehicles or debris, from the designated spot. Ensure there is sufficient space for the dumpster and that the area is easily accessible for our delivery truck. Our dumpsters are designed to fit in small spaces, making it easier to find a suitable location.
Load the Dumpster Properly
As you progress with your DIY home improvement project, load the dumpster efficiently to maximize space and ensure safe disposal. Begin by placing large and heavy items at the bottom of the dumpster, followed by smaller items and debris on top. Consider breaking down large materials to create more room and optimize the use of space.
Adhere to Rental Guidelines
While using the rented dumpster, it’s crucial to adhere to the rental guidelines provided by Red Dog Dumpsters. Follow any restrictions on prohibited materials and ensure that the weight limit specified for the dumpster is not exceeded. Complying with these guidelines will help avoid additional fees and ensure a smooth rental experience.
Schedule the Dumpster Pickup
Once your DIY home improvement project is complete or the rental period ends, schedule the dumpster pickup with us. We offer flexible pickup times, allowing you to choose a convenient time for removal.


Leave a Reply